
“A Brief guide on how to use traditional Flint & Steel ” by Beaver Bushcraft & Leather

The most common question we get asked is how do ‘these’ work? So with this in mind we came up with a very brief overview with some handy ‘hints and tips’ that we use to teach people the best and most effective way of using your traditional Flint & Steel striker and hopefully set you on your fire lighting journey.
The Flint : The hardest working item in your old school fire lighting kit will be the flint. It takes a lot of damage and by following this brief guide, we hope that it will help you to preserve the edge for a little bit longer. The shaper the edge, the better quality spark you will get.
In the photos below we show you the best way to hold your steel and your flint. We clamp the flint using the tips of our fingers with one hand and hold the striker in the opposite hand. We prefer to use the flint at an angle of 75-90 as this helps to preserve the edge more. Some people will hold the flint at a flat horizontal 45, this works fine and produces sparks but can cause the edge of the flint to be worn out much quicker and stray shards can fly off as the flint is taking the full impact from the Steel. By holding the Flint at a shaper angle you are creating a slicing/shaving effect which when hit correctly by the Steel creates a better quality spark and keeps the edge of the flint much sharper.
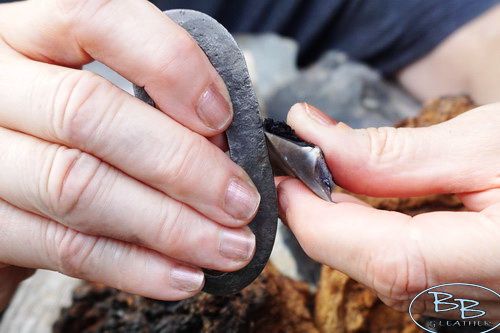
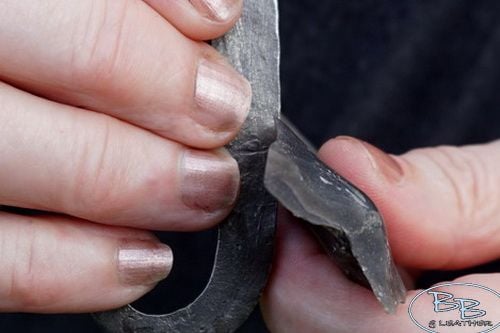
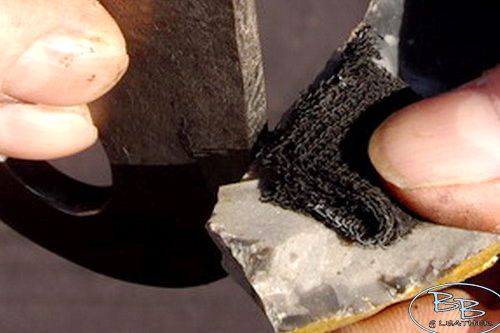
We then place the Tinder on the flat bed of the flint and where we clamp the Tinder with our thumb is where we line the strike up. We find that the fluffing the edge of the Tinder and placing it just shy of the edge of the Flint works better for us. Since it is the Flint that takes the brunt of the wear when the Flint & Steel are struck together, it is advised, for the maximum yield of sparks, to use Flint that has clean and sharp edges. The sharper the Flint’s cutting edge, plus using the correct striking angle and technique, is what produces the very best shower of sparks. (Cautionary Note: please take care when handling Flint as it can be very sharp and also be aware of stray sparks and shards when using the traditional Flint & Steel method).
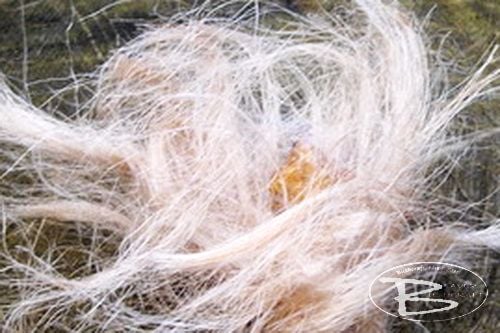
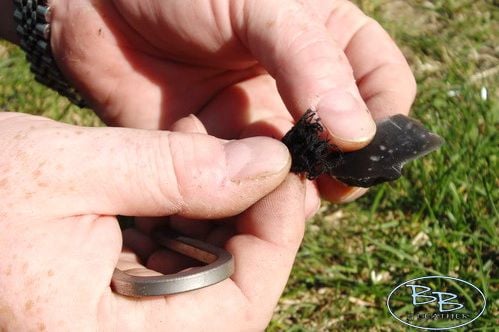
See the photos above: Start to tease apart a piece of Jute Tinder Twine (or any other suitable materials) and make it into a small nest, then.....
- Tear off a small piece of Tinder (can be either Amadou or Char Cloth) and place it about 2mm from one of the sharp cutting edges of the Natural Flint. Hold the Tinder in place against the Flint with your Thumb and forefinger; the Thumb being on top of the Tinder.
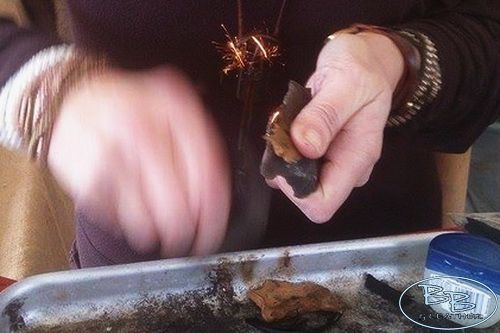
- With the Striker in your other hand, take aim with striking surface of the Steel against the cutting edge of the Flint with the Amadou held against it.
- Rest the upper arm and elbow into your side and the raise the Steel up by bending the elbow only.
- Take a delicate, fast and concise strike of the Steel against the Flint to create a shower of sparks.
- Once a spark lands on the Tinder and creates and Ember, you can then begin to gently fan it with your open hand until the Ember becomes established. Do not blow on a new Ember as the moisture in your breath may extinguish it before it becomes established.
- Place the glowing Tinder, into the Tinder Bundle and gently wrap the Tinder Bundler around the glowing Tinder.
- With the prevailing wind behind you lift the Tinder Bundle up to your head and gently blow into it until a thick greenish smoke develops.
- When you see the Greenish Smoke make 2 or 3 hard quick blows into the Tinder Bundle to create a flame.
- Place the burning Tinder Bundle into a previously prepared fire lay or ignite a Candle from the flame.
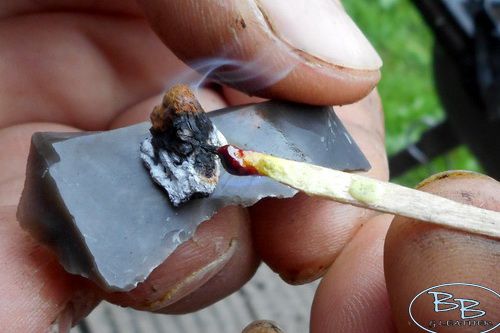
Using Your Fire Steel with a Sulphur Match or Spill:
Once the Ember is established, touch the pointed end of a Sulphur Match/Spill against the ember and wait for the Match to begin to ignite. Please Note: - If the Ember is not well enough established when you touch the point of the Sulphur Match to it, you might see the melting Sulphur begin to extinguish the Ember. If this occurs, immediately remove the Match from the Ember and gently fan the Ember back to life again, then you may touch the point of the Match to the Ember again. Also, because Sulphur burns with a delicate blue flame that is not easy to see in daylight so you might not be able to see if the Sulphur has been ignited. As the Sulphur burns it will ignite the rest of the match, which can then be used to light a fire of a candle. For more information and videos about the myriad of techniques that can be used to create sparks with your new Traditional ‘Flint & Steel’ please visit the Library/Video section on our web site. (Cautionary Note - Burning Sulphur creates very pungent fumes, so it is very important to make sure that you avoid breathing them in as they can damage your lungs). Always practice in a safe environment.
For more indepth information, tutorials, and videos about the myriad of techniques that can be used to create sparks with your new Traditional ‘Flint & Steel’ ,please visit the Library/Video section on our web site. "Happy Fire Lighting" !!