
Razor S.H.A.R.K. Sharpening
‘Simplified Honing for Advanced Razor-sharp Knives’
A New Era of Sharpening Begins!
By
Mark Hordon (Beaver Bushcraft)
Razor S.H.A.R.K. Sharp
(Simplified Honing for Advanced Razor-sharp Knives)
The art of Sharpening is an emotive subject with a bewildering array of techniques, gadgets, jigs, whetstones and rules! Each methodology and technique is vehemently defended by its practitioner with the tenacity of a Honey Badger, with a hangover, guarding his bottle of mead. Each gadget and jig promises razor sharp perfection with just a few strokes of the device and a quick flick of the wrist, if you have the readies to buy it. Whetstones are manufactured in a bewildering array of materials, shapes and styles, designed to bamboozle the average sharpening neophyte with a medley of mesmerising mysterious magical artefacts designed to separate his cash from his wallet. As for the rules … well, they could fill a library with many a giant tome.
Now, the ‘Razor S.H.A.R.K. Sharpening Technique’ or ‘Simplified Honing for Advanced Razor-sharp Knives’ for short, is something I developed to cutdown on the countless, frustrated customers, that year on year would returned to me and ask if I could please explain some of the more subtle points of the traditional sharpening techniques that they missed during the previous year’s demonstrations.
It took me a while, but the thought finally struck me that there had to be another way, a better way, a simpler way, a more reliable way for peeps to sharpen their cutting tools than the traditional way I was demonstrating and without the need to spend years honing their skills, without the need to buy expensive and complex jigs and without the need to invest in a myriad of whetstones of differing grit sizes, shapes and materials, and without the need to horde a library full of mysterious sharpening tomes, but most of all, so that I could have an easier life of it, by demonstrating a new and revolutionary sharpening system that was for the most part self-explanatory, easy to learn, practical, very simple, accurate and reliable.
Developing a sharpening technique that involved the use of a jig was the biggest ‘No! No!’ for me, since it meant that you would always be reliant on it, and should you lose, or break your jig, you would be, up poo creek without a paddle so to speak!
No sir! What I wanted was a methodology that would be inherent to your being, being part of who you are, a technique that could be carried around with you at all times in your mind and in your muscles. For that, the technique would need to be practiced freehand, free from powered tools and require the simplest and most reliable equipment around.
In a nut shell, the ‘S.H.A.R.K.’ (Simplified Honing for Advanced Razor-sharp Knives) process had to be:
- easily learned
- easy to master
- simple to use
- quick to do
- efficient
- lightweight and easily carried
- maintenance free
- inexpensive
- intrinsic to your being and
- EFFECTIVE
It also had to:
- Last a lifetime
- Have no moving mechanical parts that could not self-repair
- Have no jigs that could get lost or become broken
In fact it had to be:
- Virtually perfect.
Not much to ask, I hear you say!
Now that I have outlined the objectives of this article I’m gonna try to convince you that it is worth the minimal time and minimal effort to learn and practice it, and when you are convinced that the ‘S.H.A.R.K.’ way of sharpening is the best, and only technique you’ll ever need or use again, to sharpen all of your cutting tools, I’ll give you my email address so that you know who to send all of your praises and donations to!!!
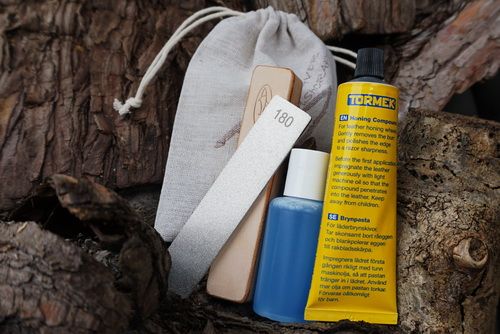
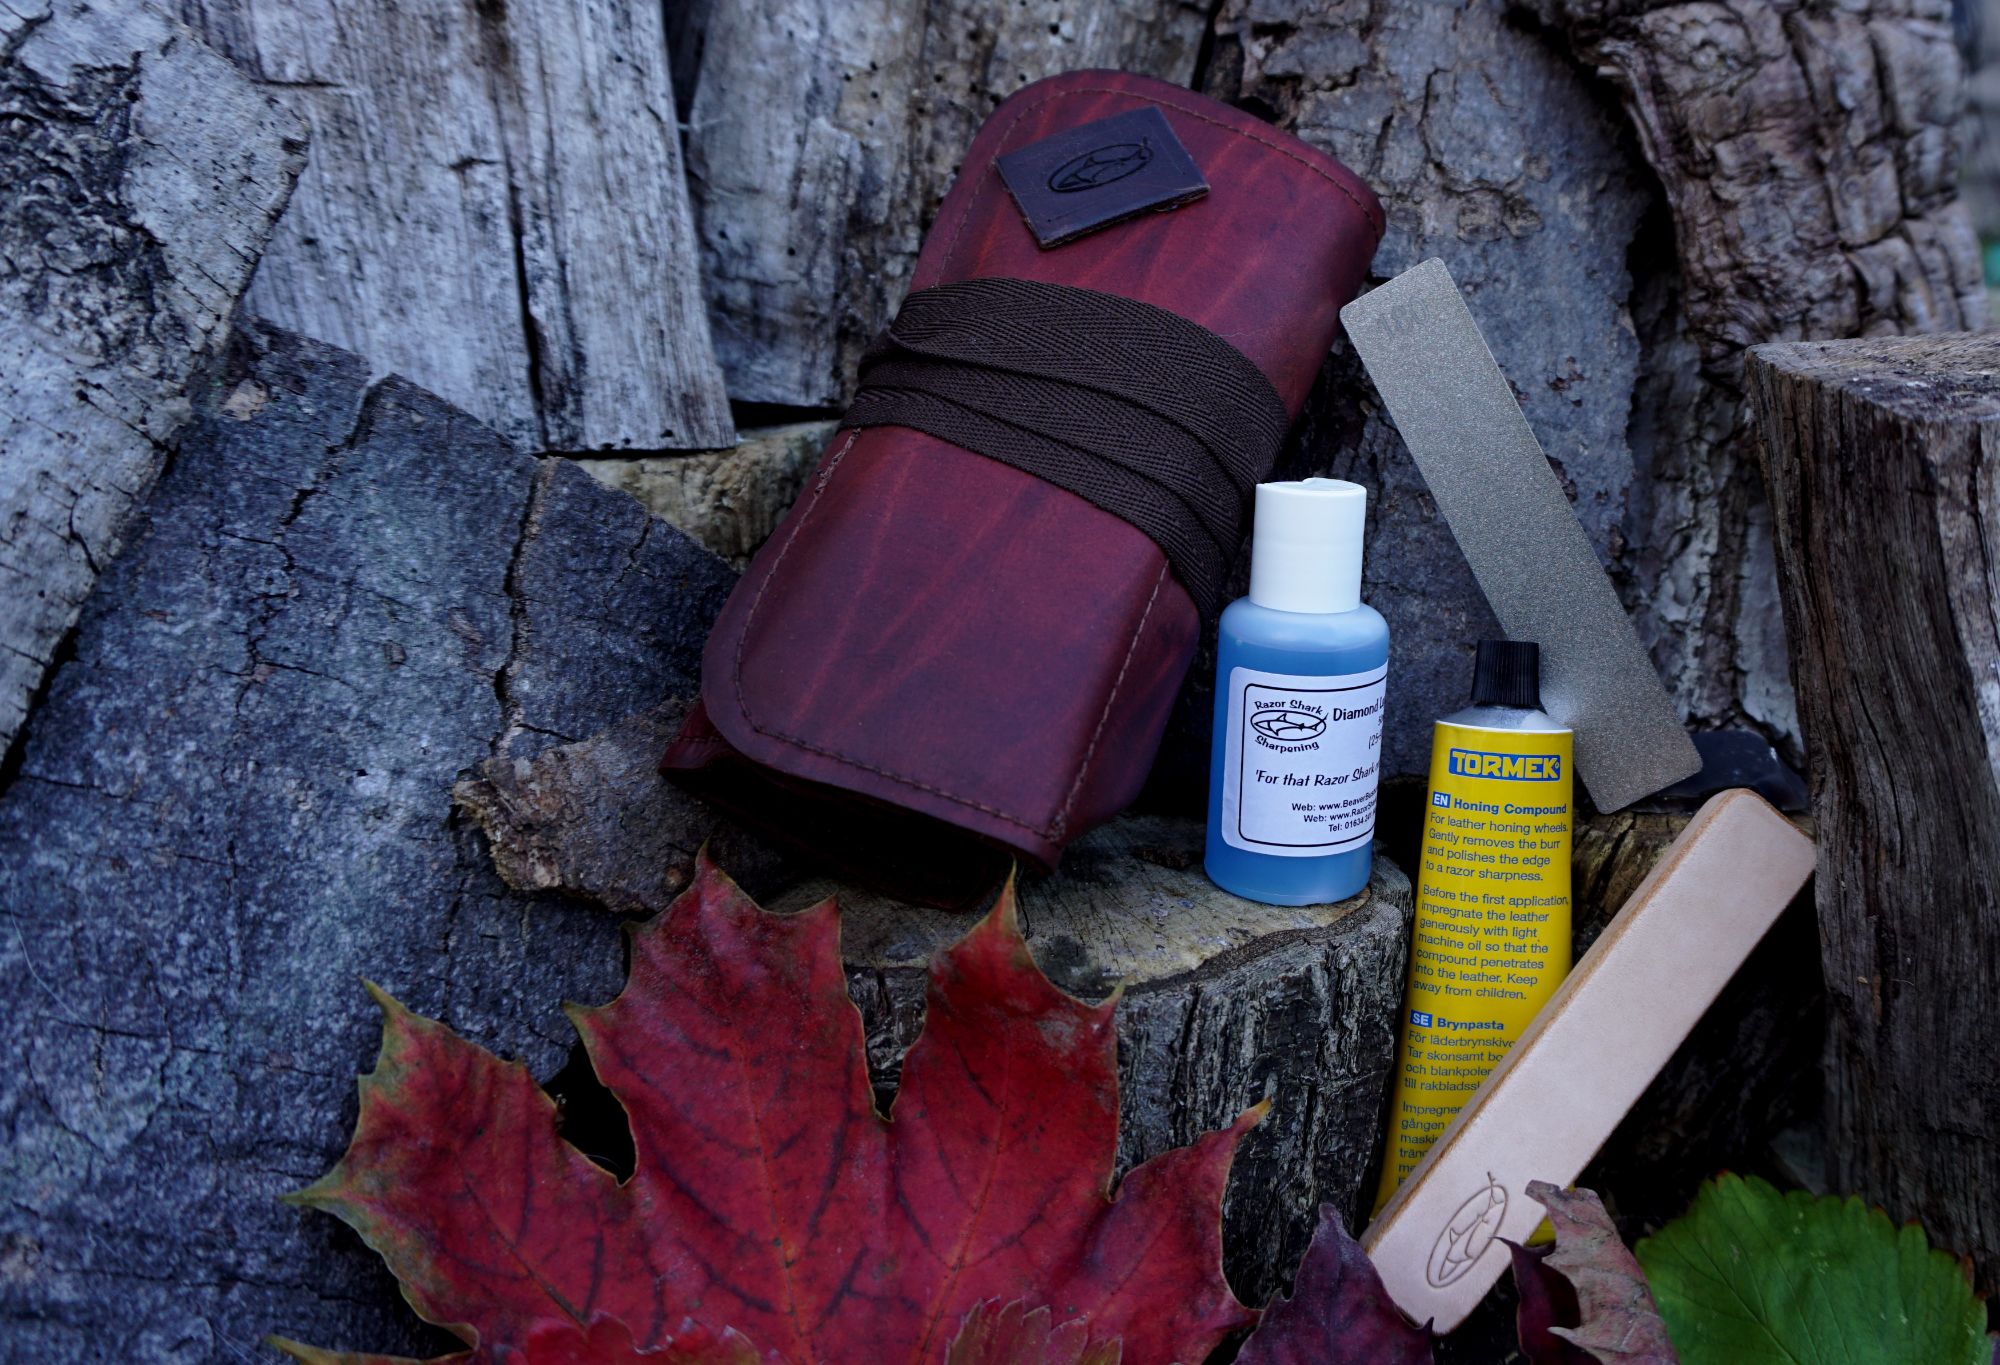
Equipment
The ‘S.H.A.R.K.’ technique involves the use of just four pieces of simple and inexpensive, maintenance free equipment, not including a bag to carry them in as well as the organic computer driven mechanical device that can be trained in equipment use that is mostly self-repairing when broken … mostly!
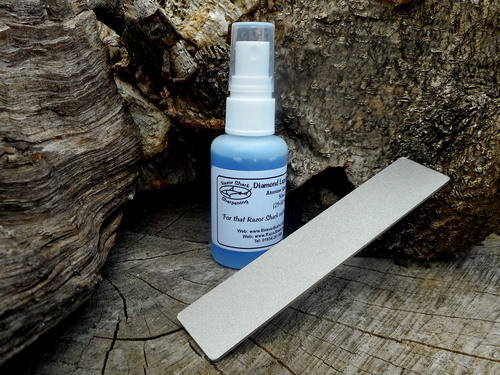
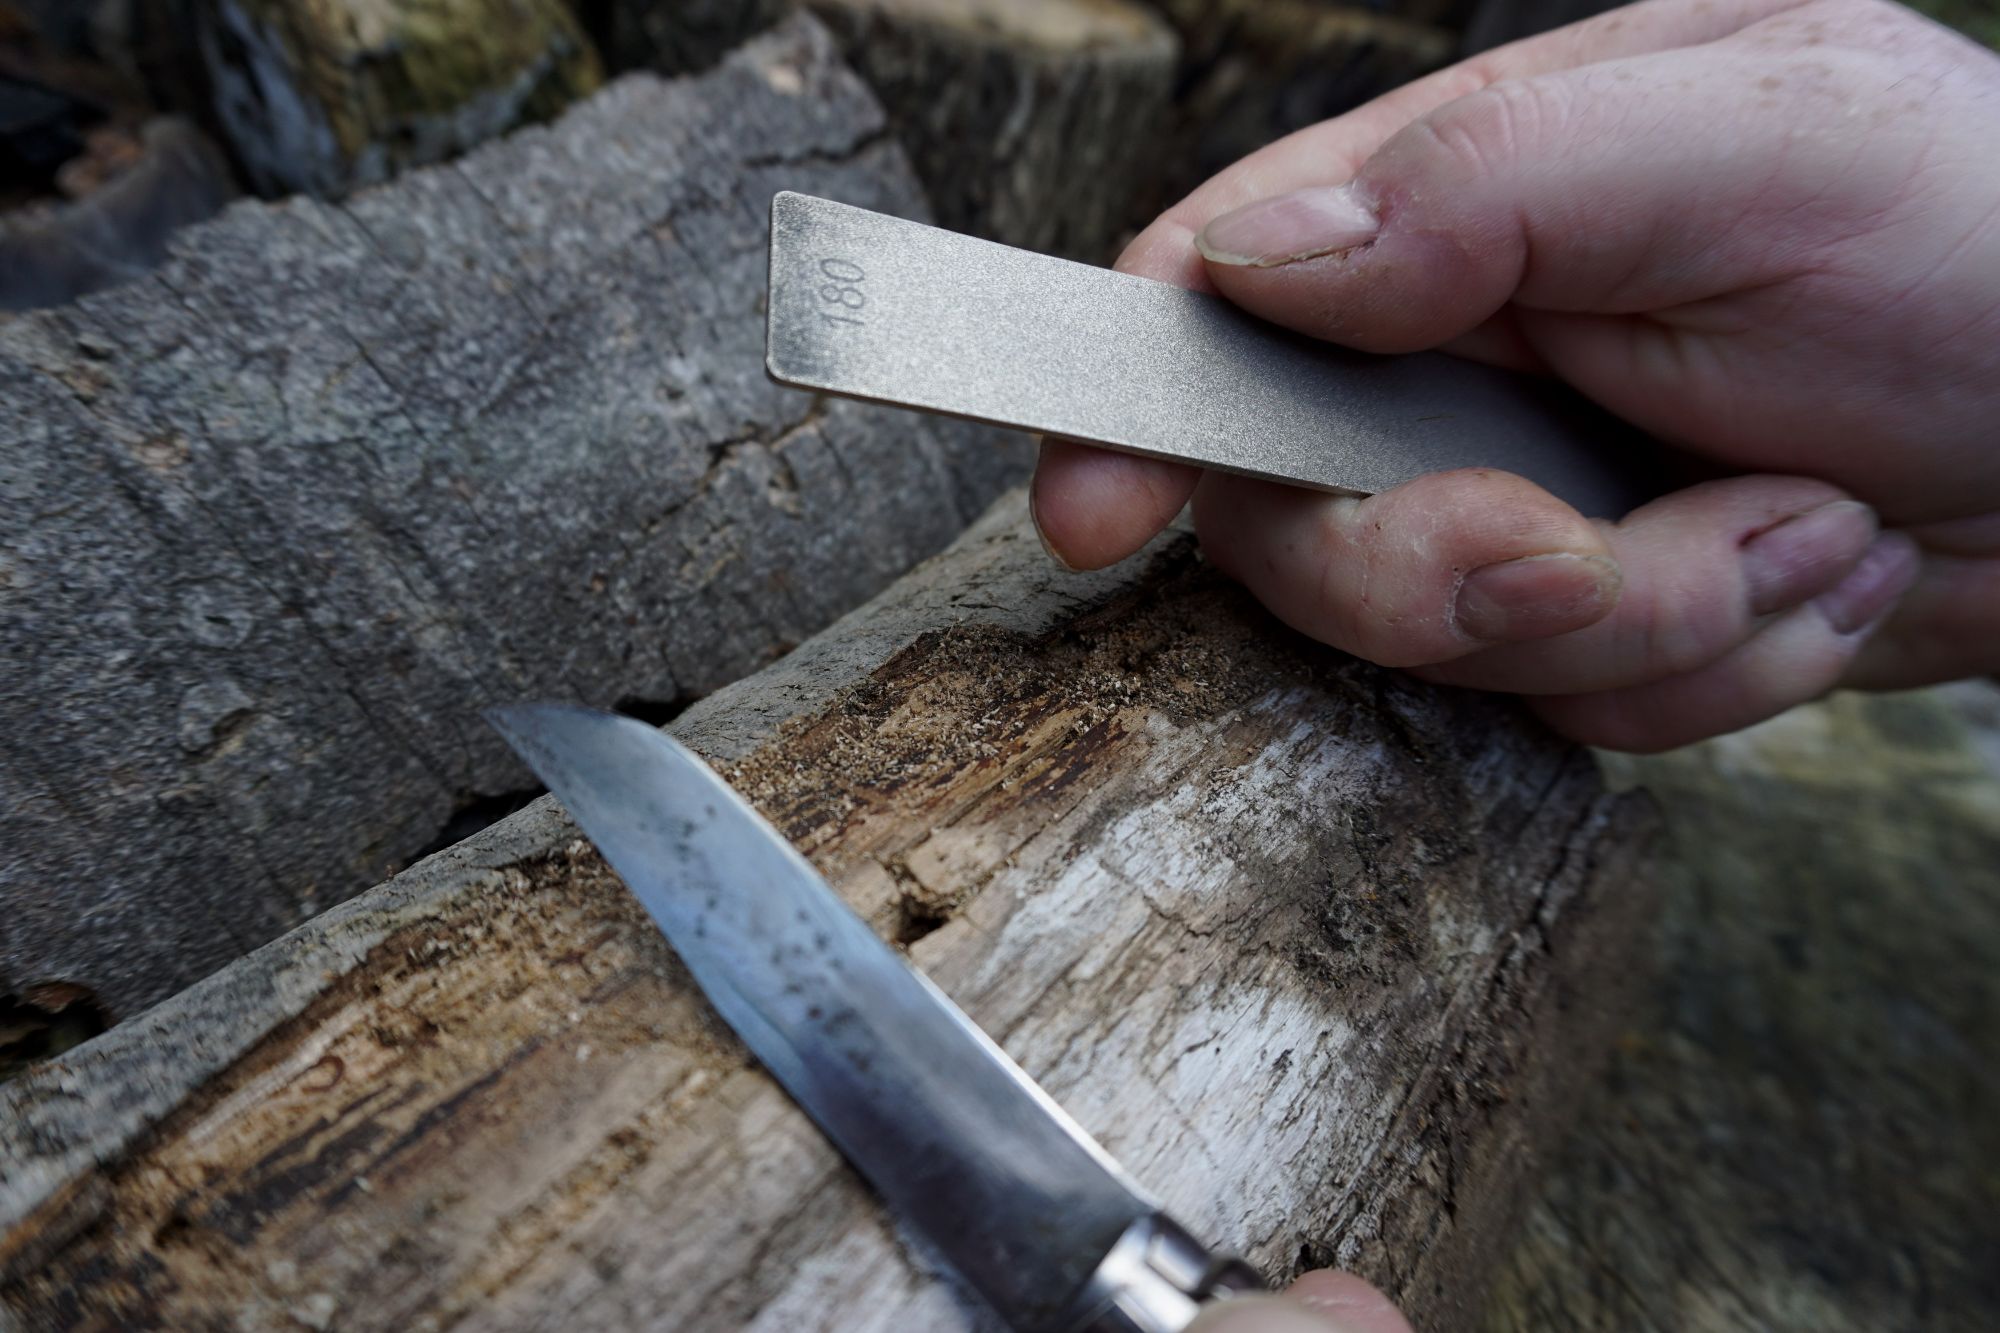
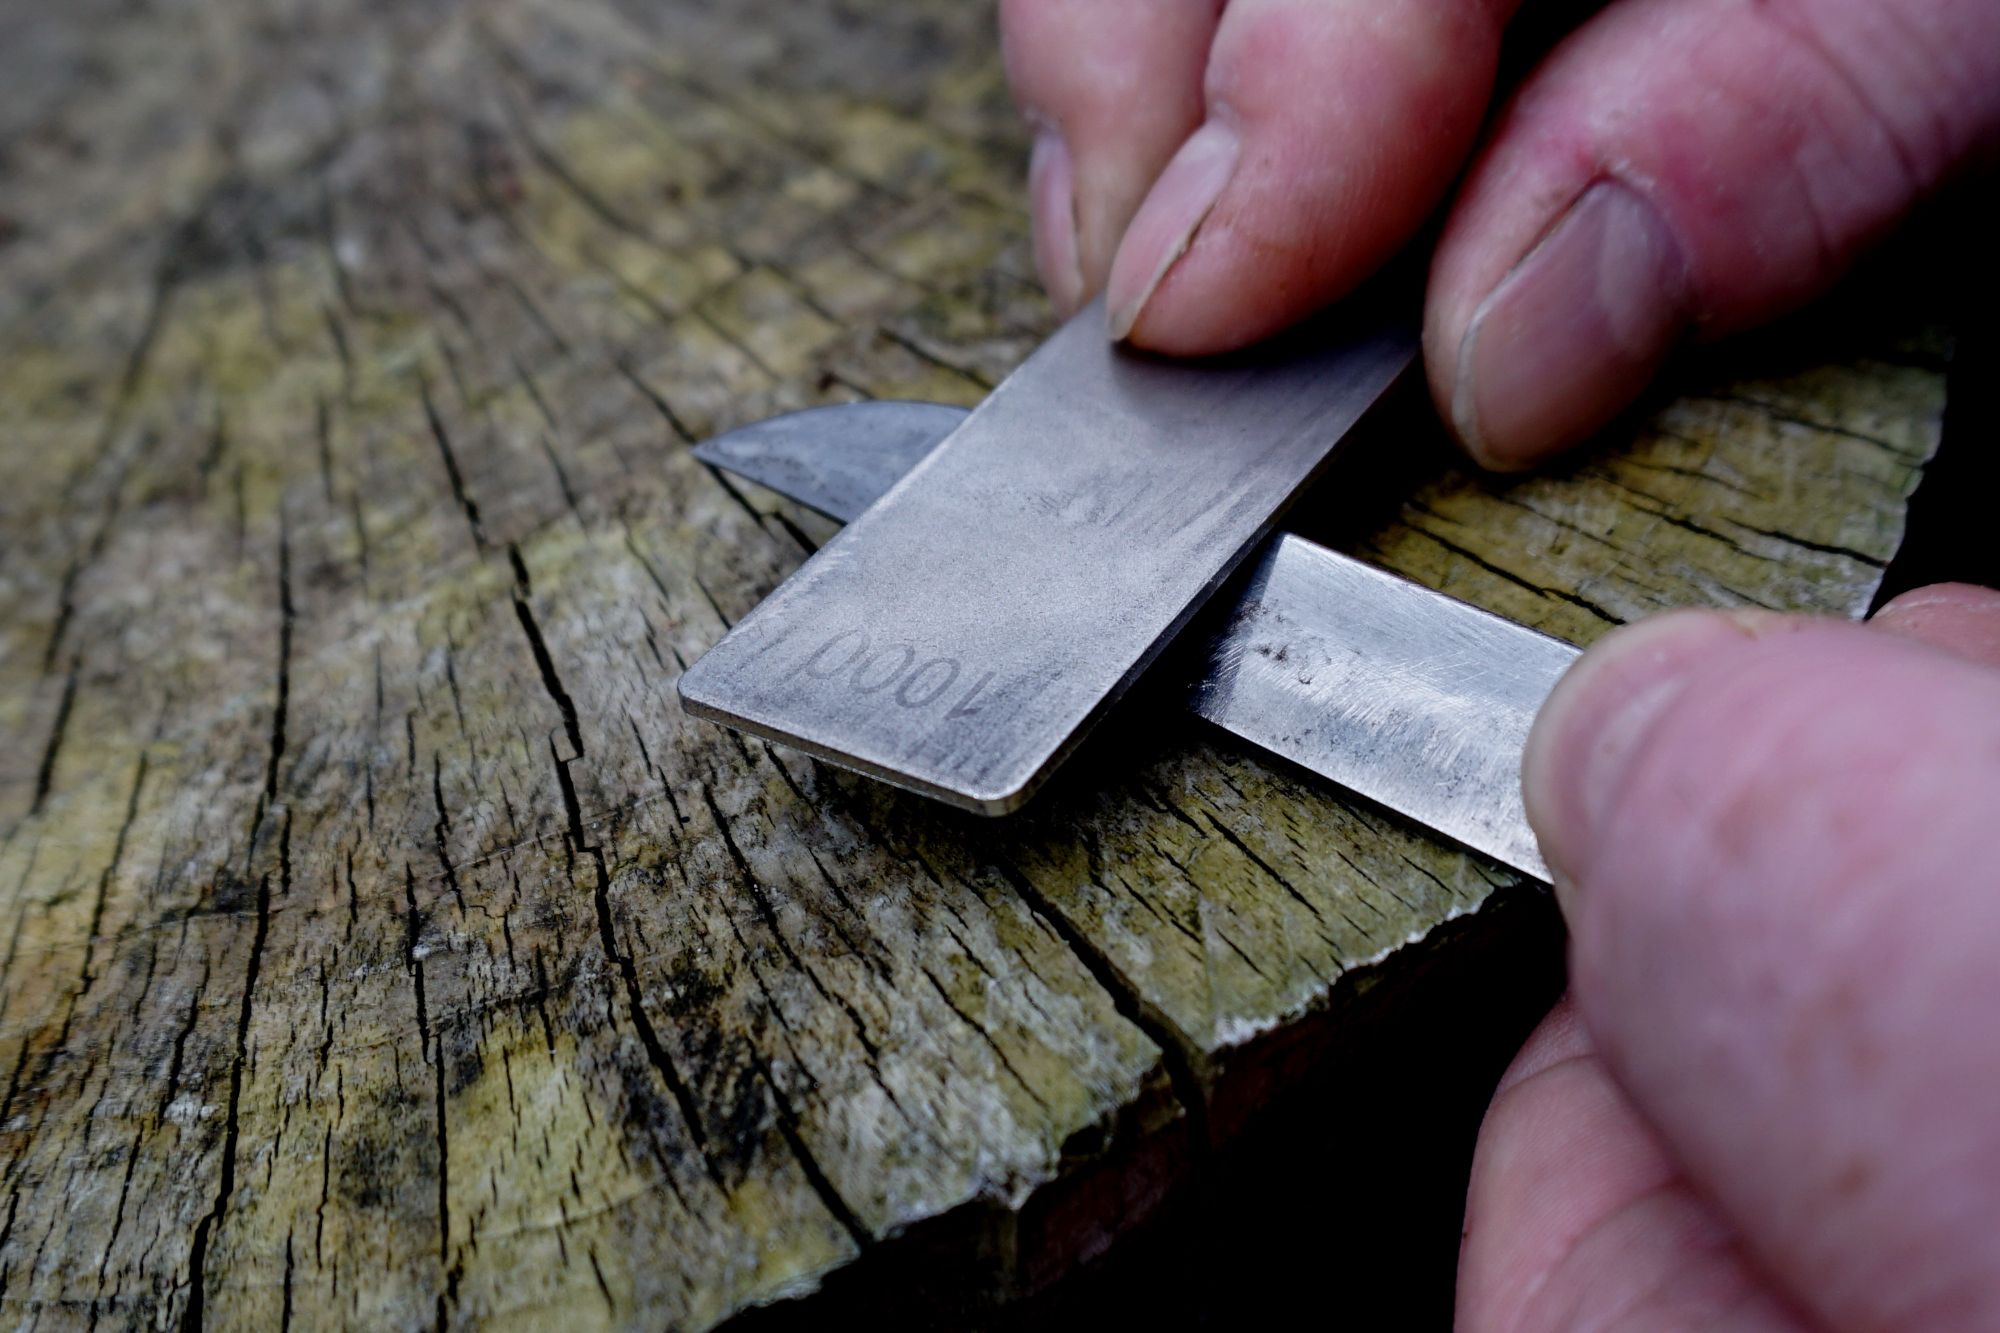
Item #1: - A professional quality double sided 5 by 1 inch Diamond Whetstone with high contrasting grit sized Monocrystalline Diamonds - 180 grit (76 microns) average sized diamonds on one side and 1,000 grit (7 microns) average sized diamonds on the other. A diamond whetstone that should last your average Joe at least 15 to 20 years, if not longer.
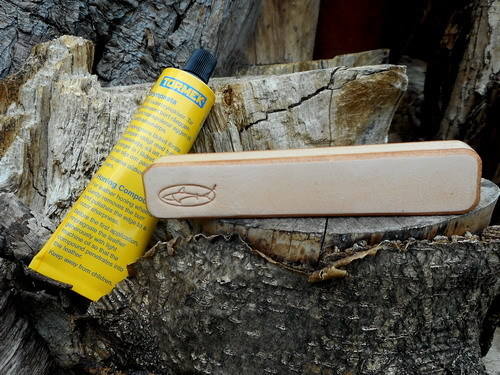
Item #2: - A high quality 5 by 1 inch Honing Strop that is made from 3.5mm (+/-) veg tanned leather on a solid Beachwood platen. Made inhouse by Shark Designs at Beaver Bushcraft & Leather, so you know it’s a quality product!
Item #3: - A specially developed Diamond Lapping fluid that protects Item #1 from rust and acts as medium that enables the diamonds to cut at 100% maximum efficiency 100% of the time.
Item #4: - A tube of superfine, 8,000 grit (2 to 4 microns) honing paste that turns an ordinary ‘Strop’ into a ‘Honing Strop’ (Item #2) that can maintain a Razor Shark cutting edge on all of your cutting tools for days if not weeks on end.
These four simple items are the ONLY items that you will ever need if you want to employ the ‘S.H.A.R.K.’ technique … EVER!!!! Well, apart from some kind of table, or stable platform, to sharpen your cutting tools on that is! Since a table, or stable platform, can frequently be improvised by using things like a fallen tree, branch or log, a big rock, boulder or wall, a doorstep, curb or brick, or in an emergency your leg, or it can be found in the form of a table in just about every home that ever was or shall be, I shall not include it in the primary equipment list, as stated above. Just as long as it does not wobble too much and is relatively stable just about any platform can be used.
PLEASE NOTE: - Henceforth I shall refer to all ‘cutting tools’, be they, axes, chisels, knives of every size and shape including swords, scalpels and machetes, as either a ‘knife’ or a ‘blade’; you can, of course, substitute the word ‘knife’ or ‘blade’ with any word that suits your pleasure without causing the slightest whiff of offence to me!
The First Principle - Blade Stability
Now the first and THE MOST IMPORTANT principle that you will need to establish in your mind, whilst sharpening a knife is the importance of Blade Stability - you will have little to no Cutting Edge without it unless you are a master sharpener that is.
Just to labour the point, if the importance of Blade Stability were to be rated from 1 to 10, I would need to give it an Importance factor of at least a 20. This being the case, I really cannot stress enough just how vitally important it is that you obtain the very best Blade Stability you are capable of obtaining whilst sharpening your knives. Even to the experts it makes the difference between your knife being just about acceptably sharp to it being exceptionally sharp or ‘Razor “Scary” Shark Sharp!’
Now that I have caused you to start nibbling at your finger nails by plastering you with whole gobs of anxiety, a barrel full of worry and a mound of pure apprehension about the upmost importance of Blade Stability I’ll try to mollify your apprehensions.
Obtaining Blade Stability without the use of clamps, vices or jigs is really not as daunting a task as it might first appear - in other words, it is a lot easier than you might think!
Obtaining Blade Stability, the ‘Stability’ Rule
Using the following simple technique will create the most stable platform that can be obtain based upon the fact that we are all made from a composite of organic flexible materials such as flesh, muscle and bone. With just a little practice the technique is easily mastered, and with that mastery, greater and greater Blade Stability will be the inevitable outcome.
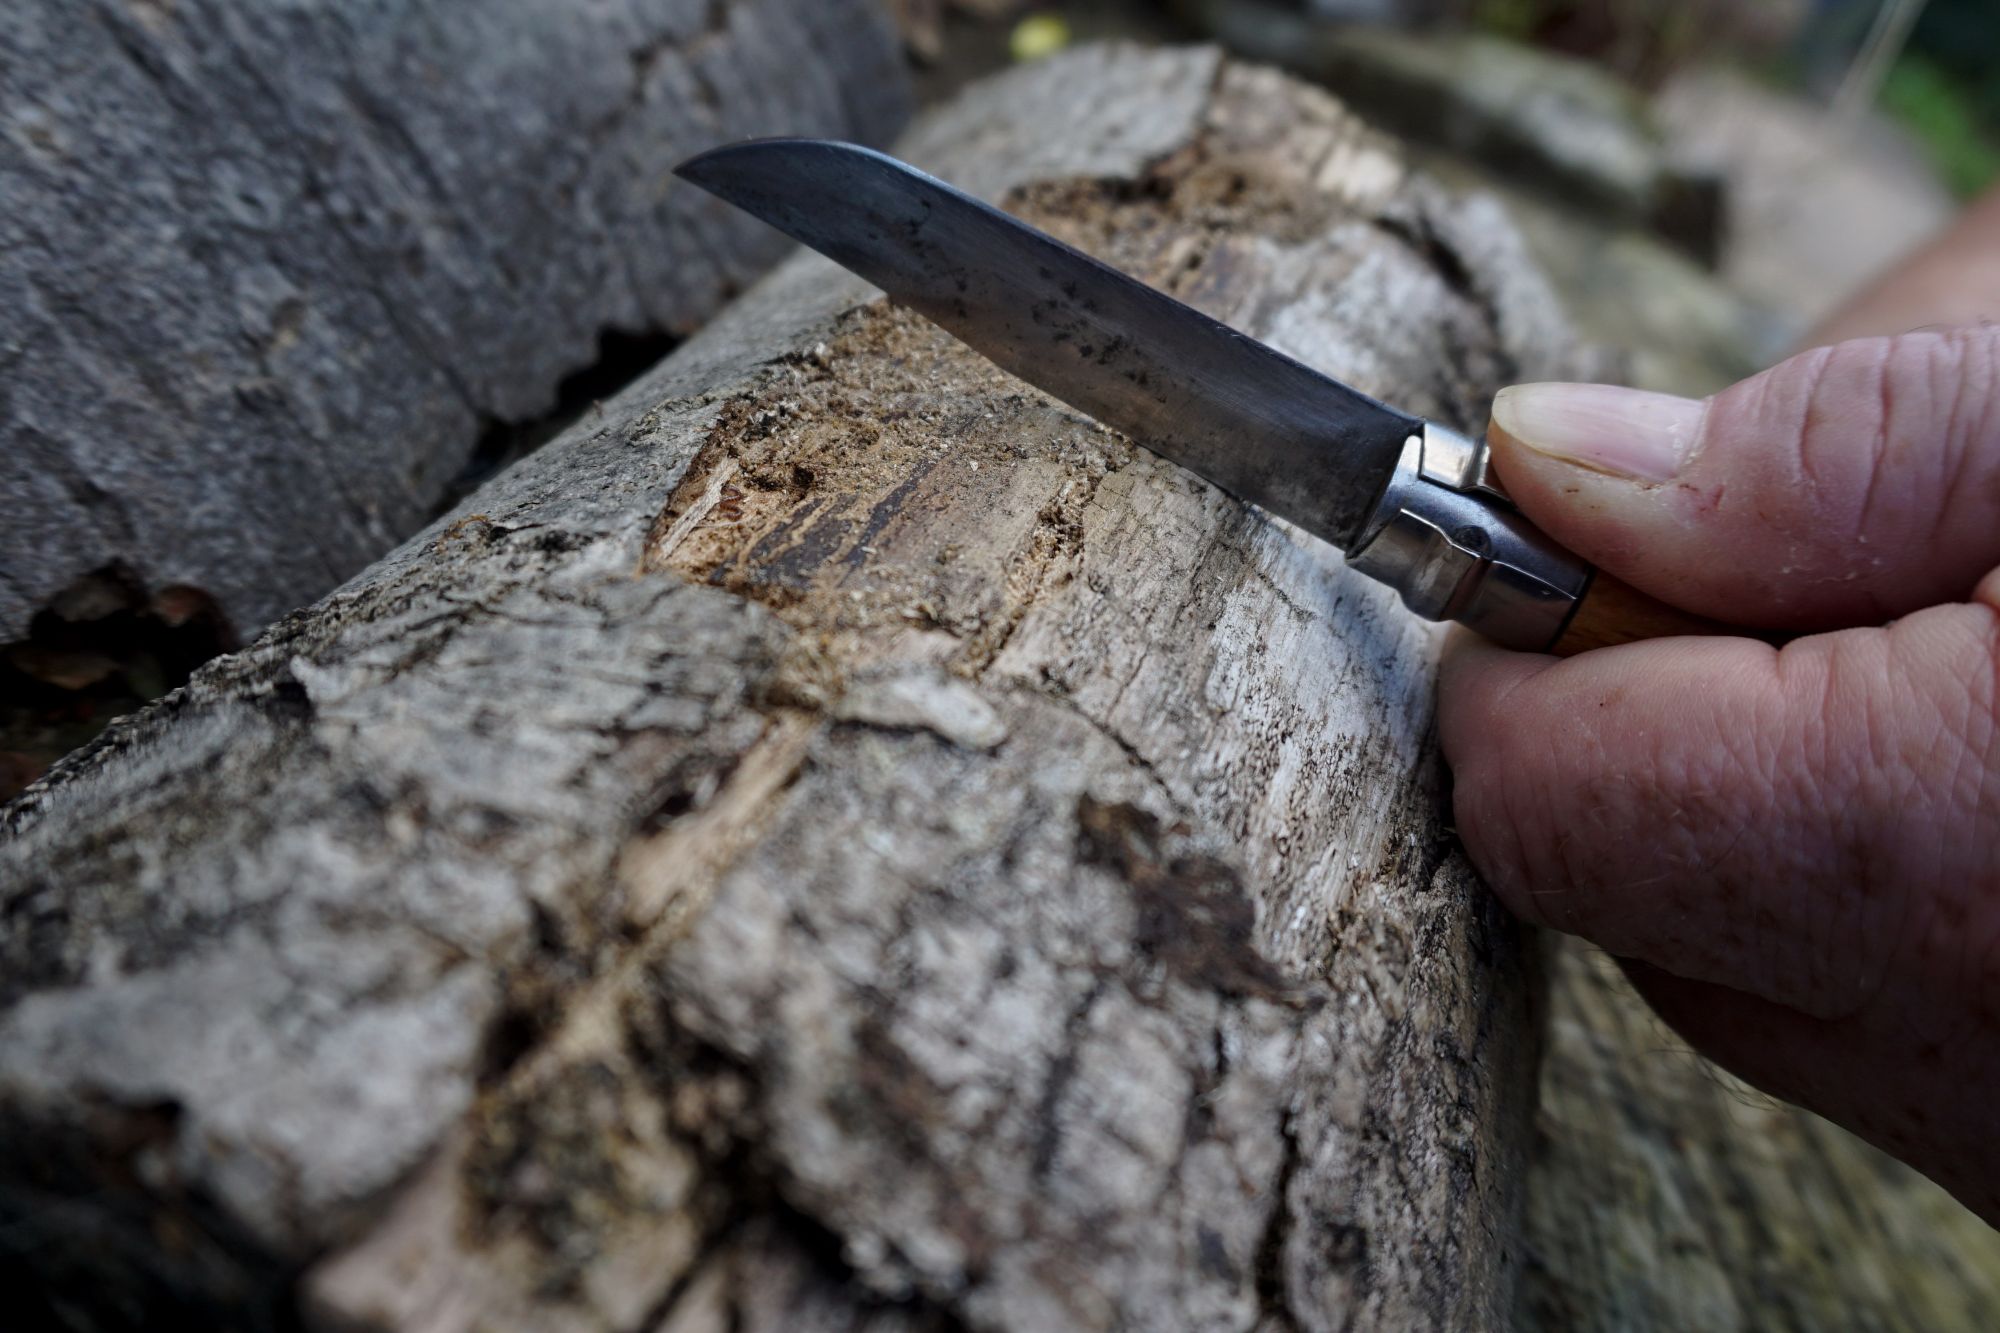
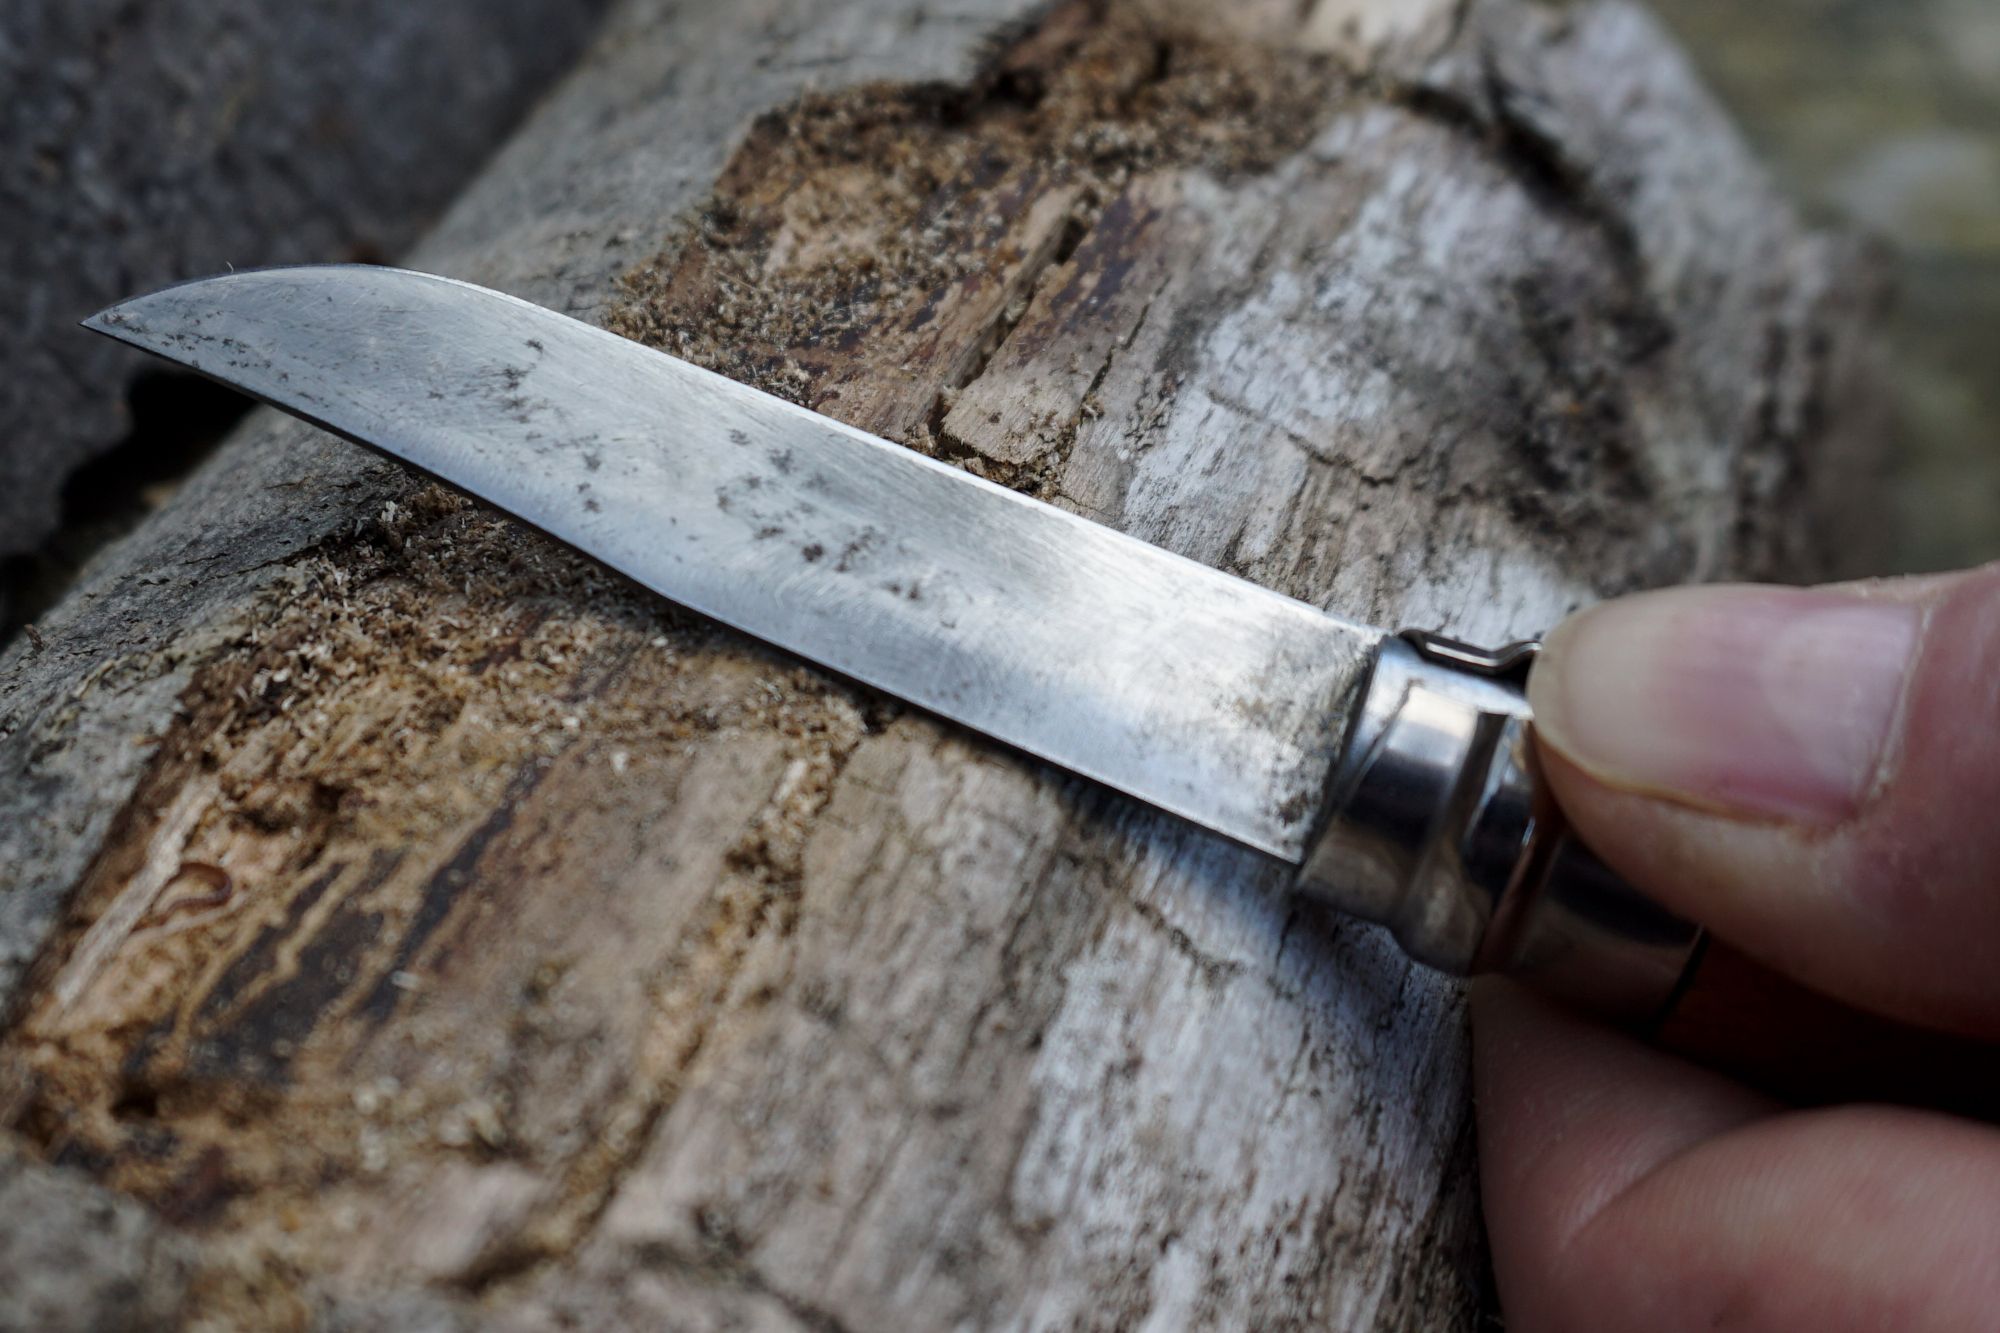
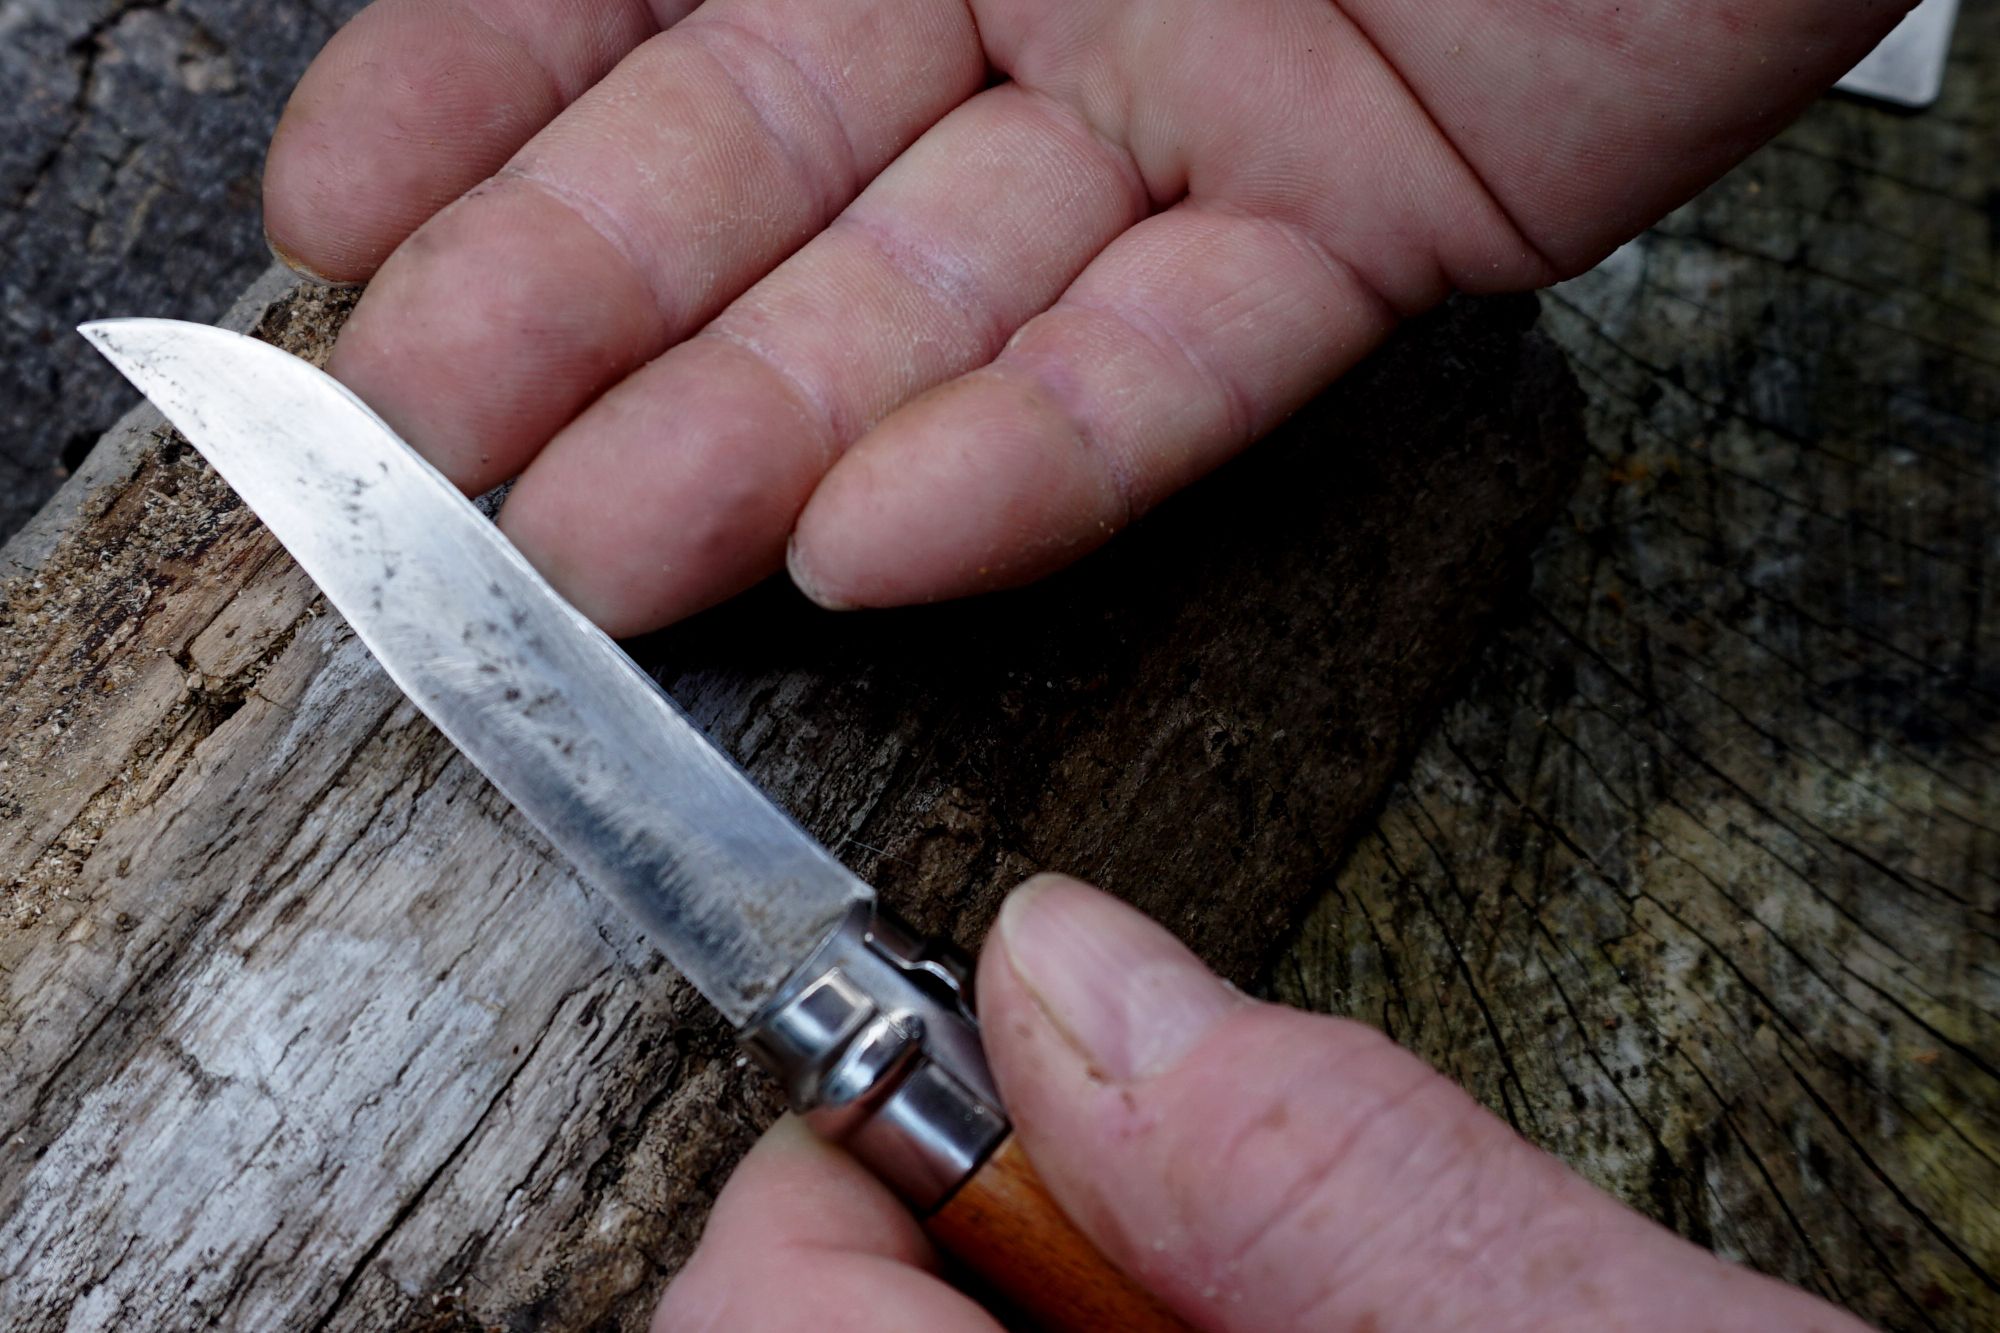
- Hold the knife in your non-dominant hand with the cutting edge pointing upwards.
- Firmly press the spine of the knife onto the surface of your chosen sharpening platform (see photo); I’ll simply call it a table from now on.
- Tilt the knife to the side at about a comfortable 20 to 30 degrees. This side of the blade’s cutting edge is what we will call side ‘A’, the other side of the cutting edge is what we will call side ‘B’.
- Slide the knife’s spine further into the table until your forefinger presses against the side or edge of the table.
- Extend the forefinger to the straight position so that it rests against the edge of the table.
- This is all there is to the Blade Stability aspect of sharpening with this technique. However, it is very important that you maintain firm, yet relaxed, pressure on the knife’s spine in both the forward, as well as the downward directions as you are sharpening, if you are to achieve the very best results.
The Angle of the Cutting Edge
The angle of the cutting edge is not as important to achieving a Razor Shark cutting edge as is the consistency of the angle you have chosen to sharpen the knife at. Let me repeat and paraphrase this “The angle of the cutting edge, is not as important as the consistency of the sharpening angle you choose.”
If you simply remember that:
- The ‘Steeper’ (i.e. more obtuse) the angle you sharpen the blade at, the ‘Stronger’ that cutting edge will be, but this will be at the expense of the cutting edge’s ‘Sharpness.’
- Whilst conversely the ‘Shallower’ (i.e. more acute) the angle you sharpen the blade at, the ‘Sharper’ that cutting edge will be, but this will be at the expense of the blades cutting edge ‘Strength’.
If you require an exact angle to sharpen your blades to, then you need to place the blade at precisely 19.9572˚ to the horizontal for a Fish Filleting edge and precisely 29.8169˚for a Boning edge. If you are not so fussy then about 20 to 30˚will be fine for just about all your cutting needs. You can of course Google it if you want to be a bit anal about the exact sharpening angles!
In the other Hand, the ‘Horizontal’ Rule
So what does the other hand do whilst you are holding the knife in a stable position on the table with the blades cutting edge angled to your chosen direction?
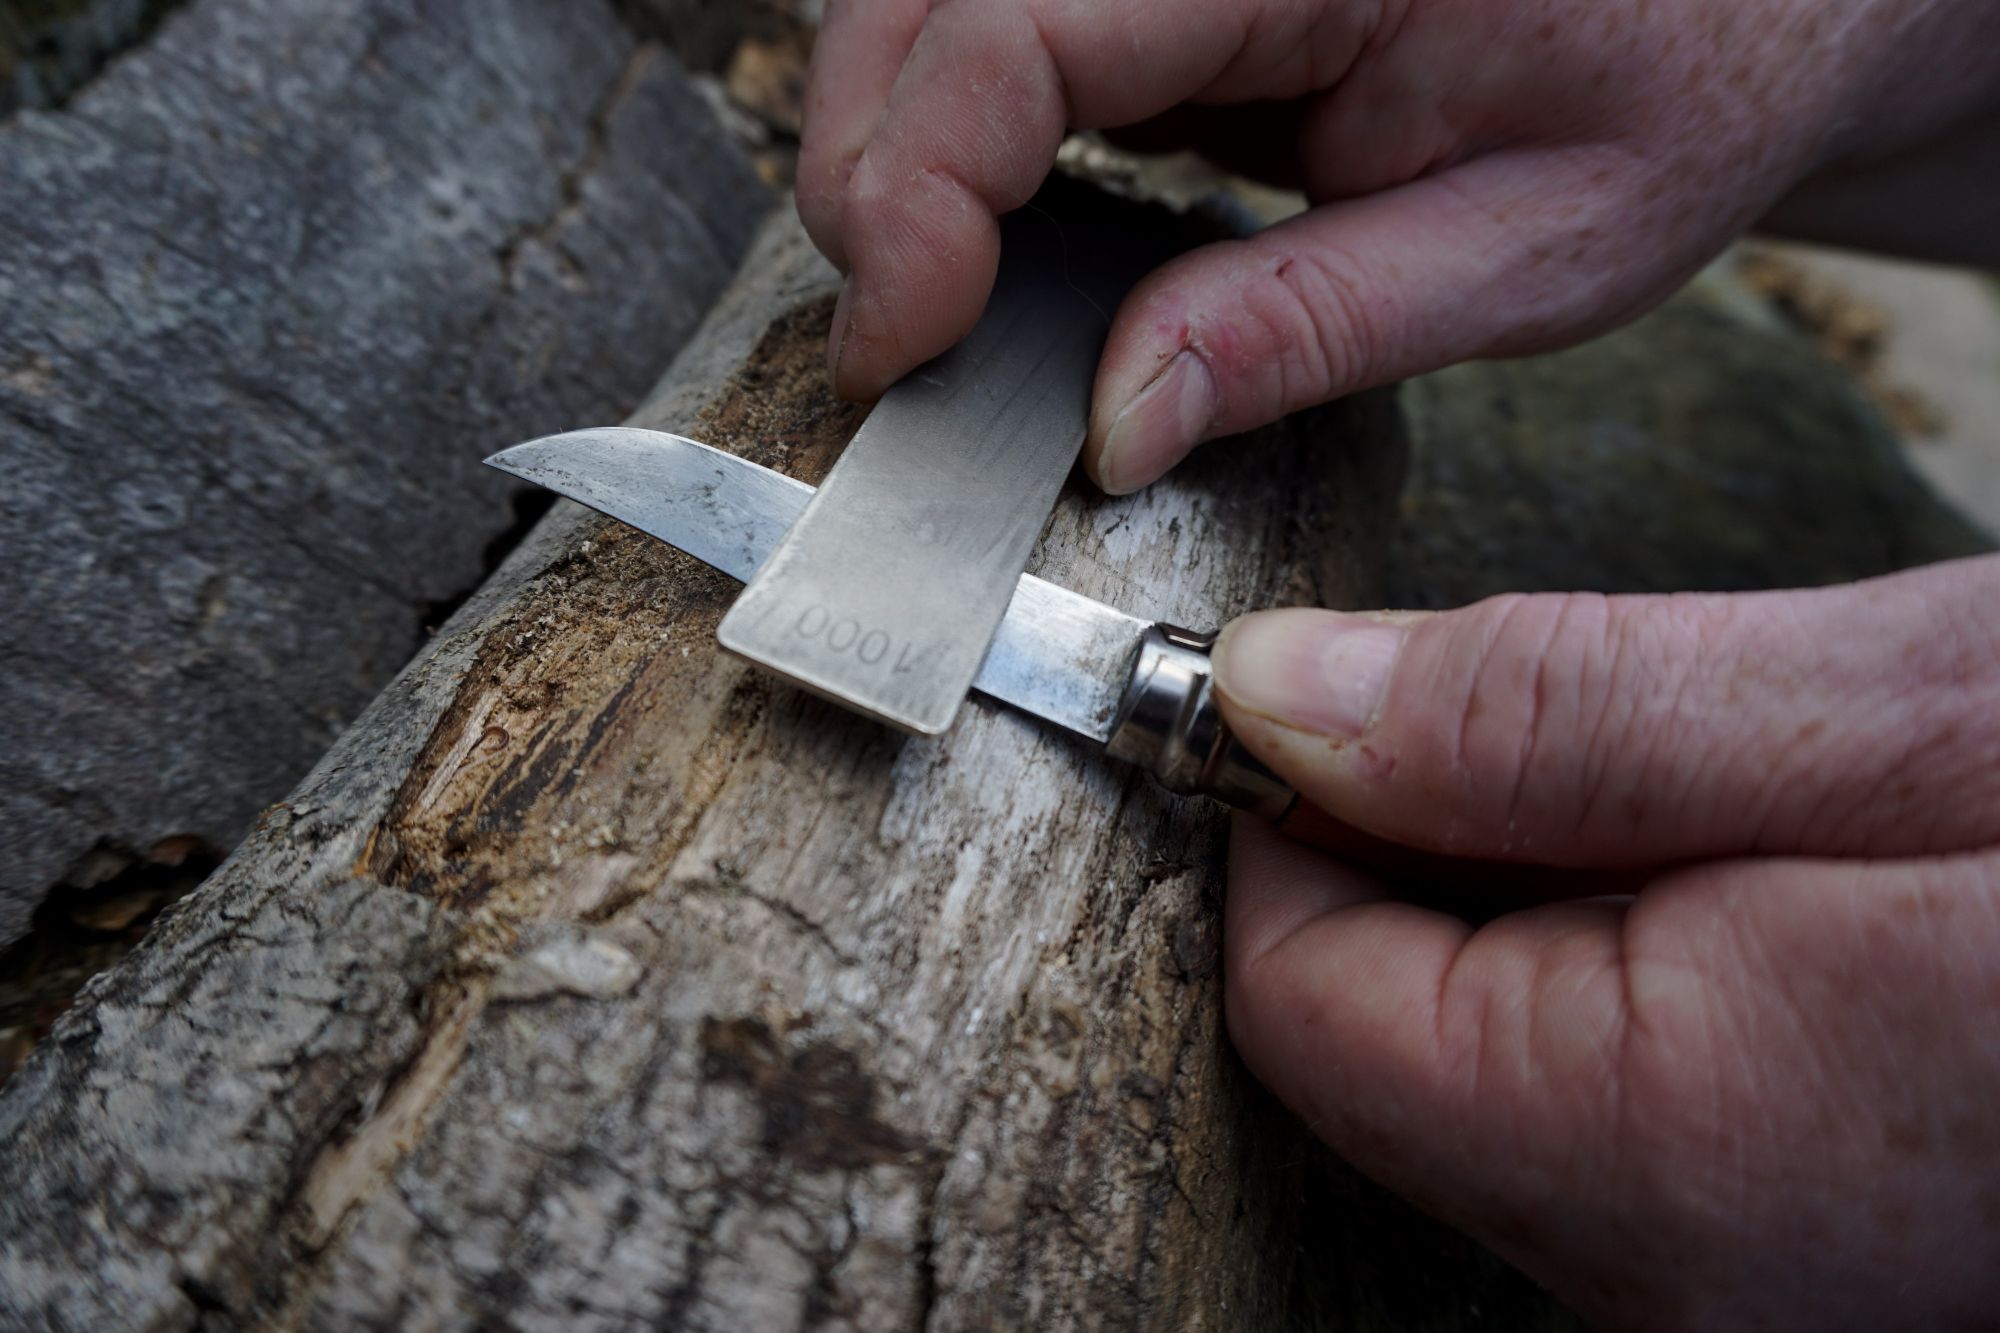
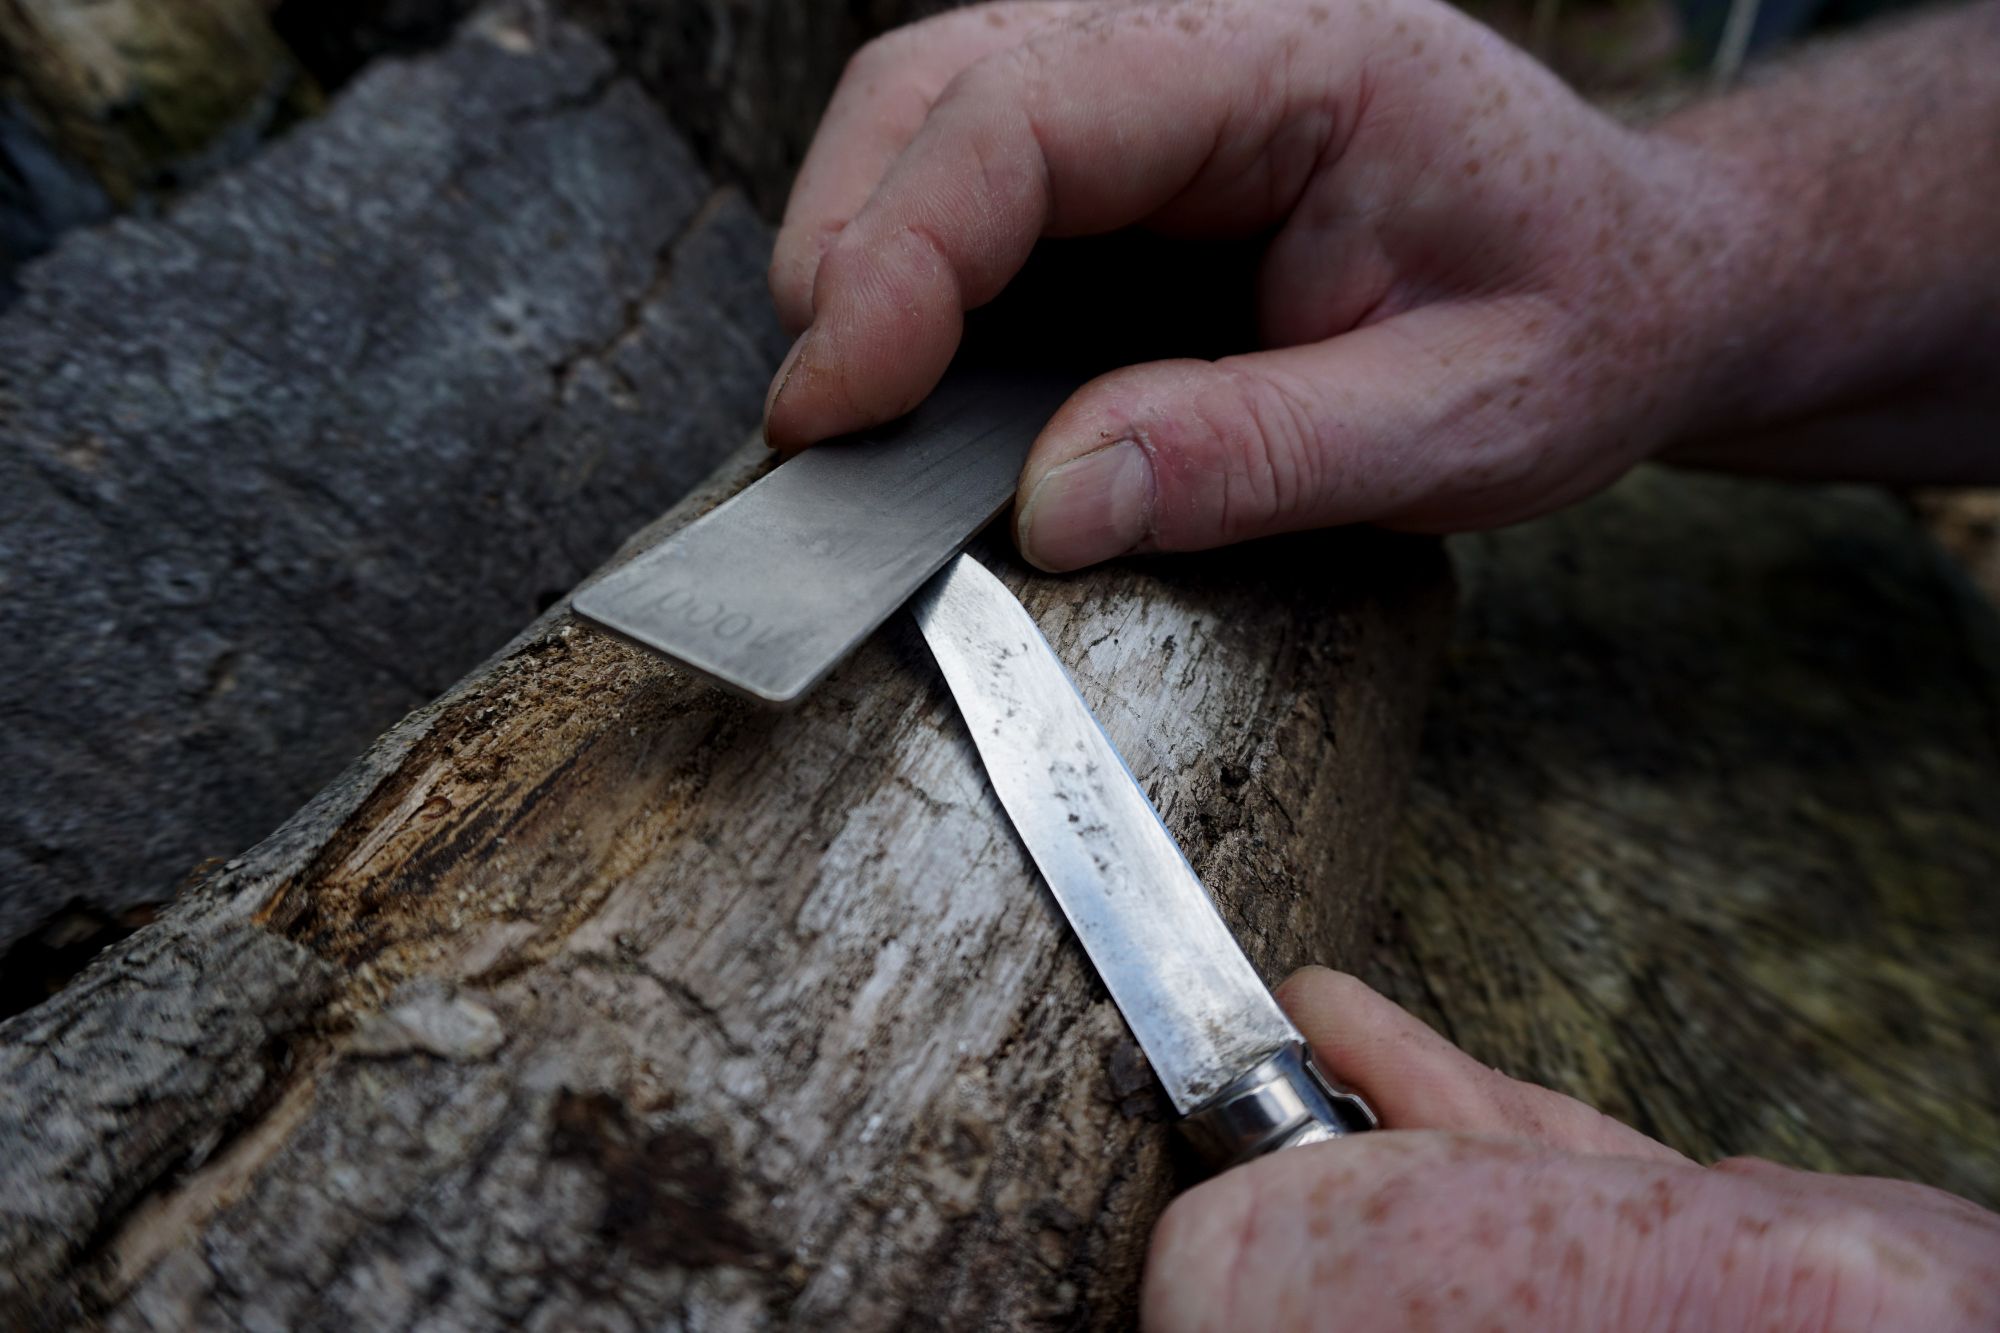
Well, for one thing, it will be holding the diamond whetstone with the 180 grit side of the stone facing downwards - after you have dripped a few drops of the Lapping fluid on its surface and smeared all over that surface - in the ‘Horizontal’ plane, i.e. Horizontal to the surface of the table that is.
Secondly, the now ‘Horizontal’ diamond whetstone, and hand that is holding it, should be slid over towards the knife and placed on its cutting edge ready to begin the sharpening process.
To recap then:
- The blade should be firmly stabilised on a table, with your non-dominant hand, its cutting edge at the chosen sharpening angle to the horizontal.
- The other hand, your dominant hand, should be holding the diamond whetstone in a horizontal position whilst resting the 180 grit side on the blade’s cutting edge.
It is really that simple!
The Second Principle – Getting that Burr
Achieving a Burr, on side A, is as simple as scrubbing and rubbing the blade’s cutting edge with the diamond whetstone until the cutting edge can no longer support the thinned out steel, which then rolls over to the other side of the cutting edge (i.e. Side B) from the one you are sharpening (i.e. Side A). Got that? The Burr can be felt as thin rolled over sharpish wire by moving the pad of a finger from the Spine of the knife past the cutting edge on side B (See photo 'Feeling for the Burr' below).
Now, whilst this process is quite simple, I am in no way trying to suggest that it might be a quick process, on the contrary … it may take you ages, especially since you must create a burr along the whole length of the blade’s cutting edge (Side A). It is sad to say, but a fact of life that the time you spend trying to obtain a burr will depend on a couple of factors:
- How dull is the knife and
- How hard the steel is that the knife is made from.
A sharp knife with relatively soft steel could be fully sharpened in one or two minutes whilst a knife that is made from a hard stainless that has a cutting edge that looks a piece of round bar could take 15 to 20 minutes to sharpen properly.
TIP: The stronger the Burr you can create the sharper the knife will usually become.
TIP: Always let the diamonds do the work; there is no need to overly apply pressure.
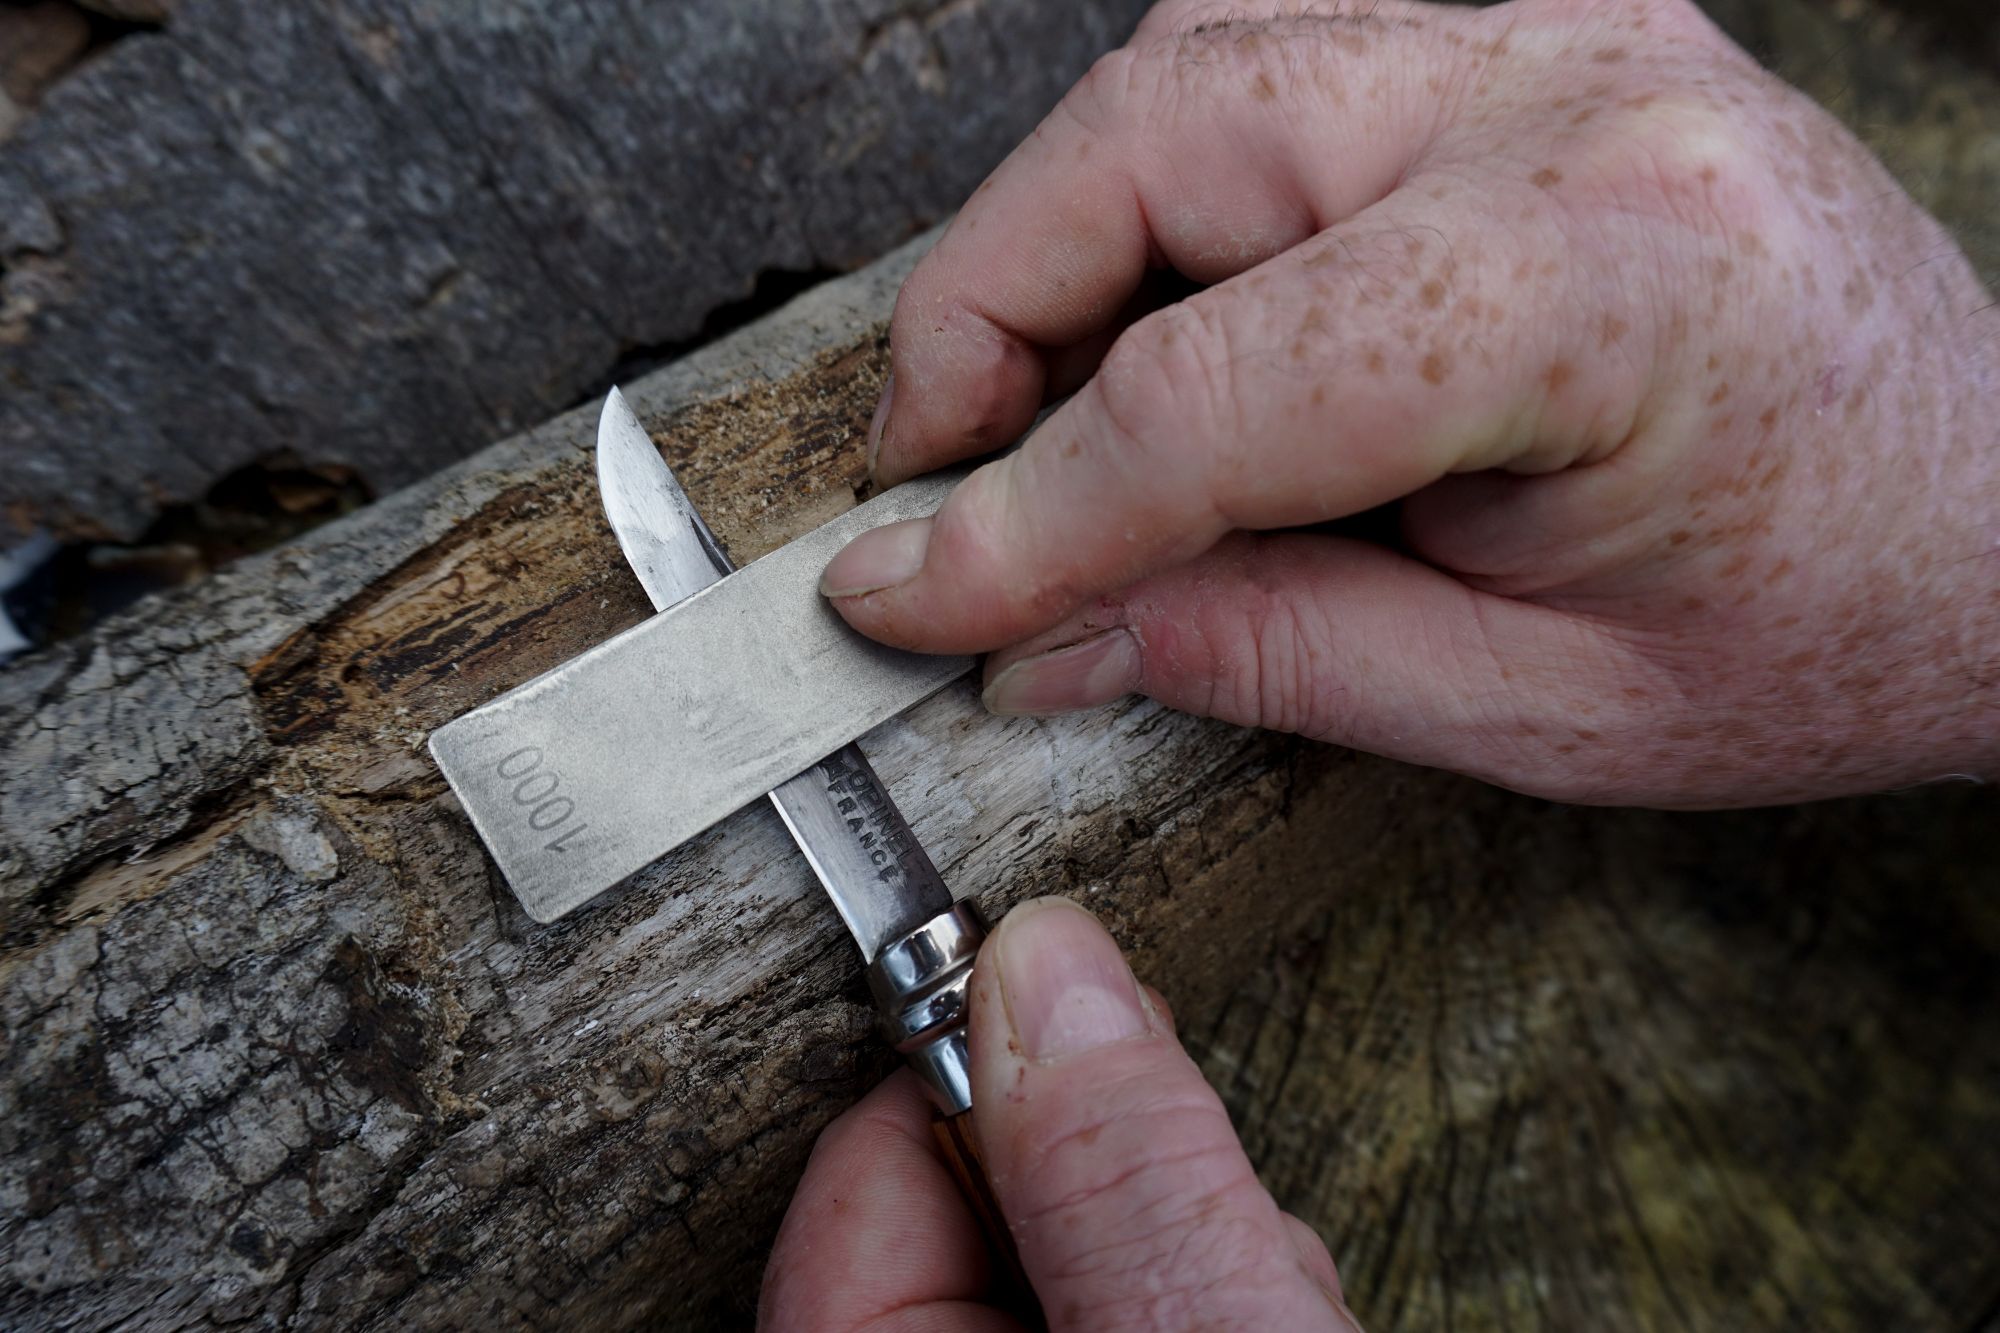
The Critical Elements of Rubbing and Scrubbing
Rubbing and scrubbing the blade’s cutting edge, with the 180 grit side of the diamond whetstone, is as easy as moving the whetstone back and forth, in clockwise or anticlockwise circles, or from side to side, whatever takes your pleasure at any given moment it really is not important at the stage of the sharpening process, since we are not trying to create a sharp edge at this time, only a good strong burr.
It is critical, however, as already stressed (above) that the blade remains as stable and stationary on the table as is possible, whilst the whetstone is always kept in the horizontal plane whilst it is in motion and in contact with the blade.
IT IS CRITICAL that BOTH of these factors are observed if maximum sharpness is to be achieved.
So, Blade Angle stability (S) combined with Accurate Horizontal Whetstone Motion (H) will create the Maximum Razor Sharpness (R).
S + H = R
A Handy Horizontal Tip
Burring Round the Bend
By this I mean obtaining a burr around the belly of the knife and then onwards towards its point.
I hear you say, “But how do I get a good strong burr around the belly of my knife towards its point without breaking the ‘Stability’ and ‘Horizontal’ rules?”
- To maintain the ‘Stability’ rule, you simply pivot the blade, on the section of its spine that naturally allows you to bring the belly of the blade upwards away from the table, whilst – CRITICALLY – still maintaining the angle you have chosen between the cutting edge and the whetstone.
- To maintain the ‘Horizontal’ rule, you simply lift your hand away from the table to meet the blades cutting edge whilst – CRITICALLY – maintaining a horizontal scrubbing motion.
Burring Both Sides – The ‘A’ and the ‘B’ of It
Once you have achieved a good strong burr on one side of the blade’s cutting edge (i.e. on Side A), you then can be assured and most confident that you have met the blade’s cutting edge on that side of the knife (i.e. Side A) and that you are halfway there to getting a Razor Shark cutting edge. To get the potential of other side of the cutting edge (i.e. Side B) equally as sharp, you will need to create an equally strong burr on side B of the knife’s cutting edge.
To do this simple flip the cutting edge, along the axis of the knife’s spine, from one side to the other (i.e. from the left, or right, side A to right, or left, side B, whichever way it was not before).
Then add a bit more of the lapping fluid to the 180 grit side of the whetstone and then scrub away at side B of the blade’s cutting edge as you did on side A, until a good strong burr has formed.
When a burr has been made, along the whole length of side B, you are guaranteed that the whetstone has then met the blade’s cutting edge on both sides of the knife (i.e. on both side A and side B) and that you will get a potentially razor sharp cutting edge.
Please Note: - Achieving the burr on side B of the blade’s cutting edge will often be a whole lot faster than obtaining one on the first side (i.e. side A):
- So it is advisable to check for a burr often.
- Also, bearing in mind that you want to keep your blade’s cutting edge as symmetrical as possible, you should try to scrub the blade about the same amount of time on each side.
- Also, it is important that you try to copy the same angle you had on side A as on side B of the knife’s cutting edge. Often you will find a comfortable angle that is right and unique to you, one that is repeatable time after time after time, if this happens keep it.